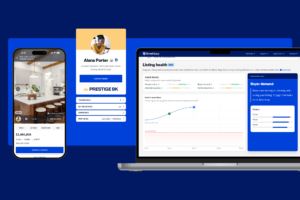
If you can’t show listings in person, 3D Home tours on StreetEasy are the next best thing. With expansive, multidimensional images, they let shoppers feel like they’ve visited a home even when they haven’t left their sofa.
With social distancing practices in place, however, you’ll need to rely on a client or tenant who has access to the home to capture a tour. Here, we cover helpful tips on asking your client or tenant for help capturing the tour and posting it on StreetEasy.
Collaborating virtually on content isn’t likely a common practice for agents and clients, and it can be awkward. But data shows that rich content can make a difference: In March, Zillow listings with 3D Home tours received 57% more visitors and were saved 82% more frequently than listings without. And StreetEasy continues to see tens of thousands of visits from active NYC home searchers every day.
If you’re new to 3D Home tours, you can learn more in our overview, read a step-by-step guide to capturing a tour, see one in action on a StreetEasy listing, and download the free app. Read on for tips on working with clients to capture and post a 3D Home tour.
Getting Started With 3D Home Tours
You’re the expert on your clients and listings, so begin by thinking through which are best suited to creating a 3D Home tour. Here are some points to consider:
- With whom do you have the most comfortable relationship? Who will be easiest to collaborate with?
- The 3D Home app requires an iPhone, iPad, or a Ricoh 3D camera. Clients without one of these tools will not be able to capture tours.
- Once taken, 3D Home tours cannot be edited. If there are issues with the result, the images will need to be recaptured. Which clients are most likely to get it right on the first go?
- Your first 3D Home capture can serve as a powerful example to other clients. Which of your listings will make the best impression? Which could benefit most from additional attention?
- How much work will it take to get a given listing prepared and staged for a 3D Home capture?
What if your client is unsure about working with you to capture a 3D Home tour?
- In this unusual time, 3D Home tours help potential buyers feel much more comfortable making offers. They can mean the difference between a home going into contract or sitting on the market.
- If your client is hesitant to take the time to make a 3D Home tour, consider offering a gift card or a meal delivery in return for their help.
- If your client is uncertain about their ability to stage and capture the home, share an example of a listing with a 3D Home tour taken by a client to empower them and make them feel capable.
- If a 3D Home tour truly isn’t an option right now, consider asking your client or tenant to take a video tour of the home. YouTube or Vimeo videos can appear right in your photo carousel on StreetEasy.
Staging the Home and Planning the Capture
Again, you know your clients best, so consider who will best understand the benefits of creating alternative tour options, and who is most handy with technology.
Also make sure your clients are clear on what they’ll need to create a top-notch 3D Home tour, including:
- An iOS device (iPhone, iPad) they can use to download the free app.
- A good eye for style: a clean space, well staged if possible, and no people or pets in the photos.
Next, use your expertise as an agent to prepare your client for the capture process:
- Remind them that the tour cannot be edited after it’s taken, and empower them to take personal responsibility for creating a great tour.
- Send over a checklist with all your staging tips. This is where you can offer reminders to close toilet lids, open curtains, and clean up children’s toys, etc.
- Consider suggesting a walkthrough of the space over video chat before your client does the 3D Home capture, so you can point out any potential issues.
It’s also helpful to make a detailed plan with your client on how you’ll capture the home:
- You may want to discuss where they’ll place the iPhone or camera to best capture each space, as well as where they’ll stand to be out of the picture during each capture.
Capturing the Tour
You and your client will want to go over these detailed instructions for using the 3D Home app to capture a tour. The basics of the process:
- Download the app: First, your client should download the free 3D Home app to their iOS device.
- Establish your setup: Using a monopod or tripod to hold the iPhone, iPad, or Ricoh 3D camera during capture is recommended but not required.
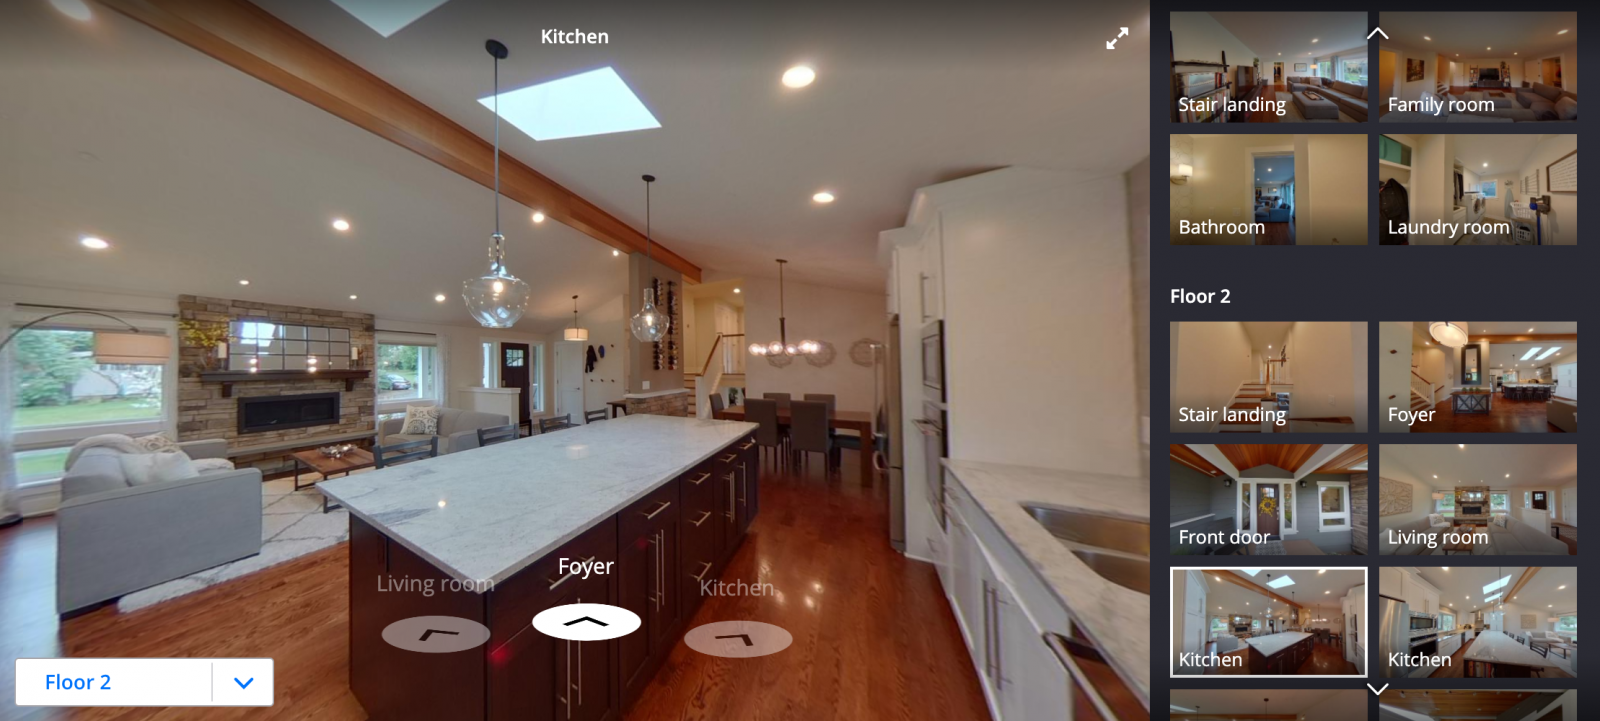
- Capture panoramas: To capture the tour, they simply move around the home, taking a 360-degree panorama of all rooms and spaces (including closets, terraces, hallways, and the entry to the unit).
Tips for capturing a successful 3D Tour:
- Establish a flow: Take panoramas within line of sight of one another. In other words, one capture point should be visible from another capture point. This will let the end user feel like they can move naturally through the space.
- No humans: No one, including the photographer, should appear in any images. If the client is holding the iPhone or camera, they’ll want to make sure they can’t be seen in any mirrors or reflections. If using a monopod or tripod, they’ll need to stand behind a door or wall.
Read more details and tips on capturing a 3D Home tour in this step-by-step guide and contact 3D Home support if you have any problems.
Posting the 3D Home Tour to Your StreetEasy Listing
After the client captures the tour, they must send you the tour link for it to successfully be added to your listing.
Sharing the Link
Your client will receive an email letting them know the tour has been completed and is ready to view. From that email, they will need to navigate to the My 3D Tours section of the 3D Home app and follow the steps below.
- From the My 3D Tours menu, select the tour for the listing.
- Click the three dots below the thumbnail image.
- Click “Share”.
- Copy the link or share directly via text or email.
Read more detailed instructions on copying and sharing the tour URL.
Reviewing the Tour
After the client successfully shares the tour URL, review the tour to ensure the home is tidy, no rooms are missing, and that the overall experience shows your listing and your brand in a good light.
Not completely satisfied with the final result? Unfortunately, tours can not be edited after they are completed. You know your clients best, so consider if this client would be willing to reshoot the tour based on your feedback.
Adding the Tour to Your Listing
Last but definitely not least, you will need to add the tour to your listing by pasting the 3D Home tour URL into the “Photos & Media” section of your listing, following the steps below:
- Log into your StreetEasy Agent account on web or on the Agent Tools app (app functionality coming soon).
- Navigate to “My Listings”.
- Select “Edit” on the listing to which you’d like to add the tour.
- Visit the “Photos & Media”
- Scroll down to the “3D Tour”
- On web: click on “Add 3D Tour Link” and paste the link into the modal that pops up, then click “Add”.
- On mobile (when available): Paste the link directly into the field.
- Save your changes.
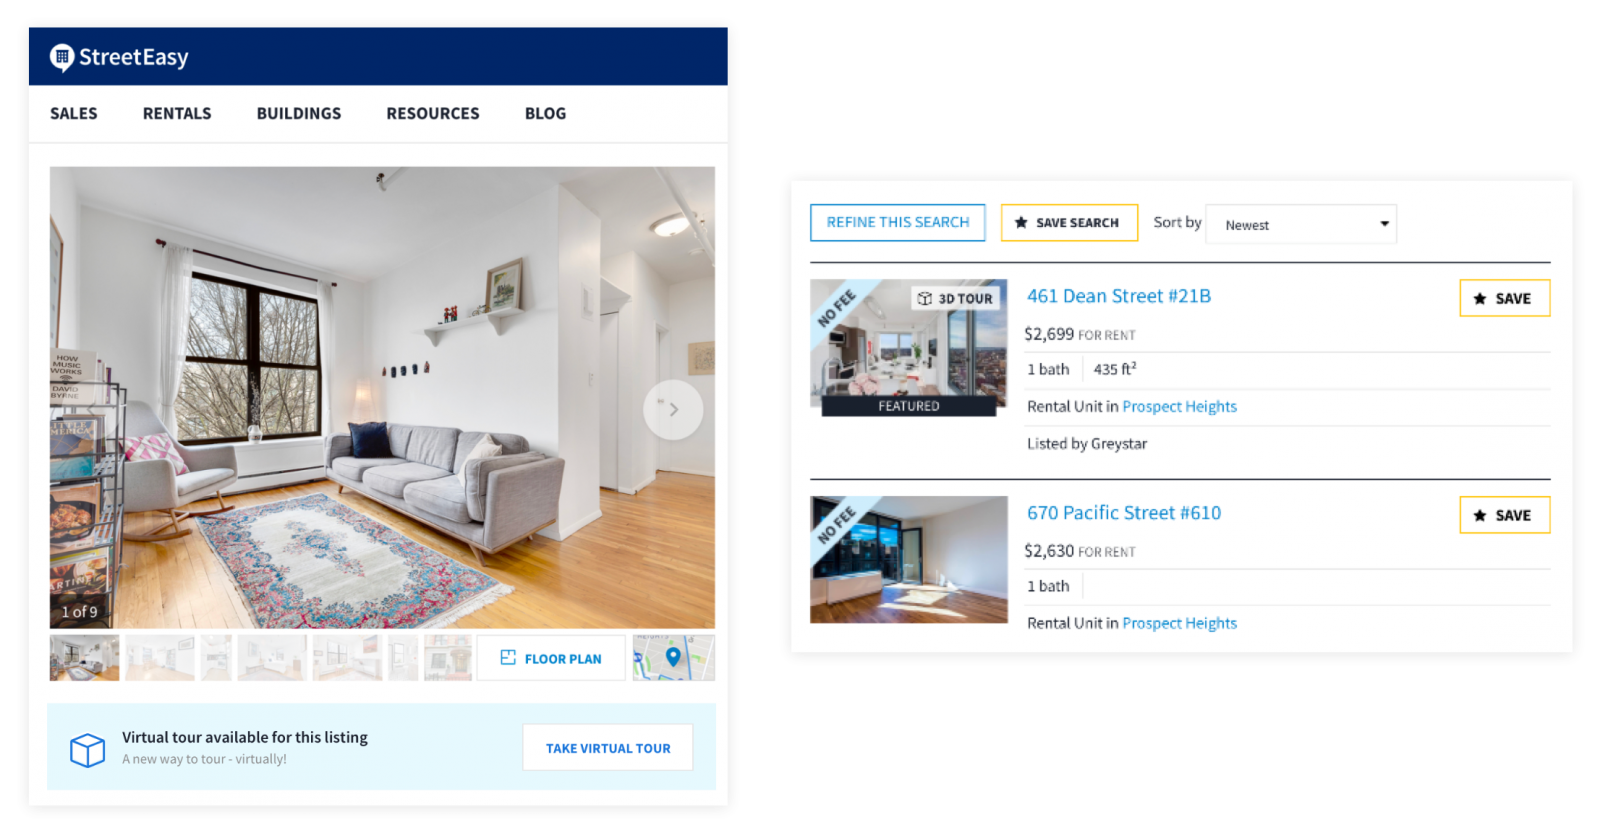
- Navigate to your listing page to see the 3D tour in action!
If you are unable to add the tour via direct listing, reach out to StreetEasy Support with the tour URL and listing address, and our team will add the tour to your listing.
Troubleshooting — FAQ
My client doesn’t want to capture a 3D Home tour. Is there an alternative?
Walkthrough videos can be a great, immersive alternative to a 3D Home tour. Clients can capture videos on any device by walking slowly throughout the unit. Videos can be captured with or without audio. Agents may also consider layering their own audio on top of the video created by a client.
My client doesn’t have an iOS device. Can they still create a 3D Tour?
Currently, the 3D Home app is only available on iOS devices, including iPhone and iPad. Alternatively, they can capture a video tour from any device and share the file with you. Videos that are hosted on Vimeo or YouTube can be embedded into any StreetEasy post and appear in the photo carousel.
The tour my client captured is missing a room. What should I do?
3D Tours can’t be edited after they’re created. If you feel comfortable, you can ask your client to re-capture the full tour with a reminder to include the missing room. You know your listing best — is the room that’s missing critical to shoppers’ experience? If the tour is still helpful despite the missing room, consider posting it anyway.
Have additional questions?