50 NYC Real Estate & Apartments for Sale - Page 2
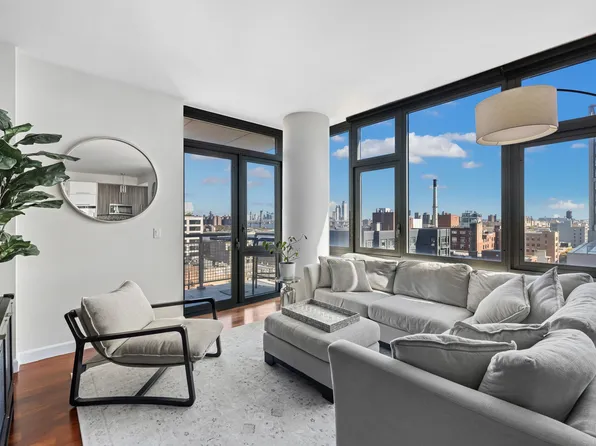
Condo in DUMBO
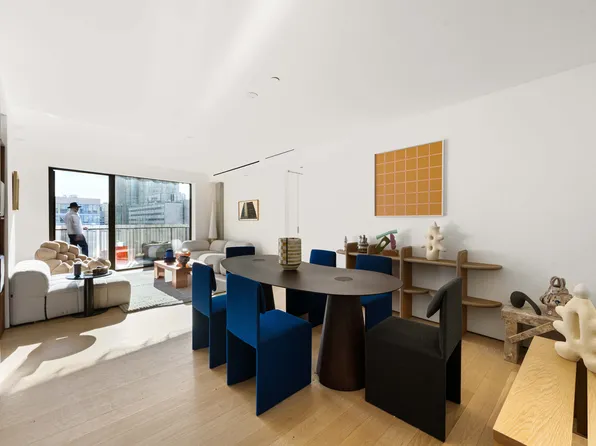
180 Front Street PH21D-FRONT$3,495,000- 2 beds
- 2.5 baths
- 1,424 ft²
Listing by CIM / LIVWRK
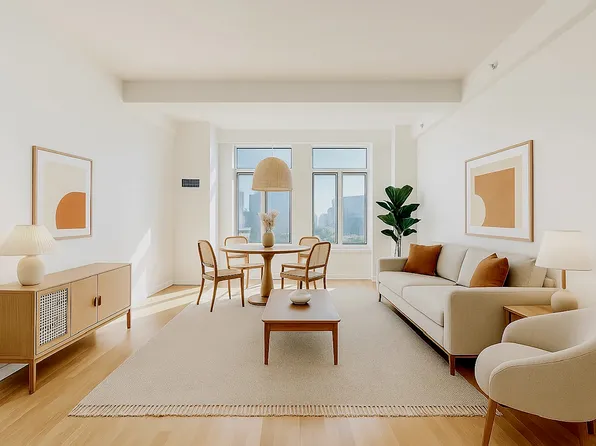
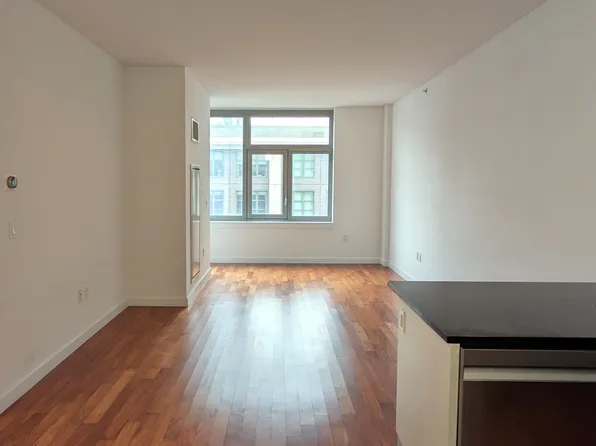
Condo in Downtown Brooklyn
189 Bridge Street #15B$1,200,000- 2 beds
- 2 baths
- 1,143 ft²
Listing by Fifth & Forever LLC
Image 1 of 29
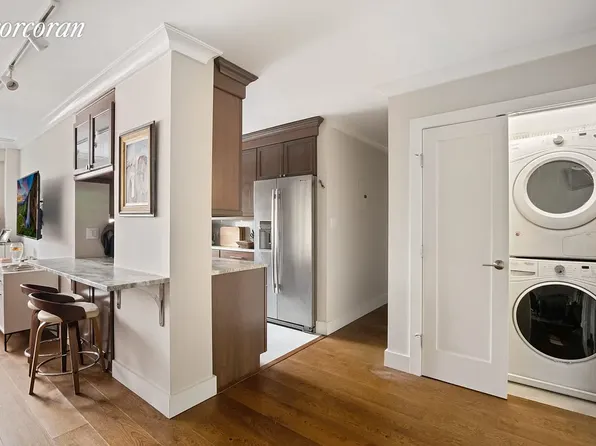
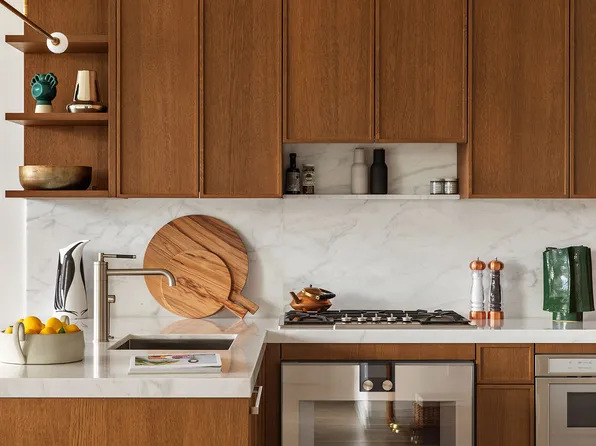
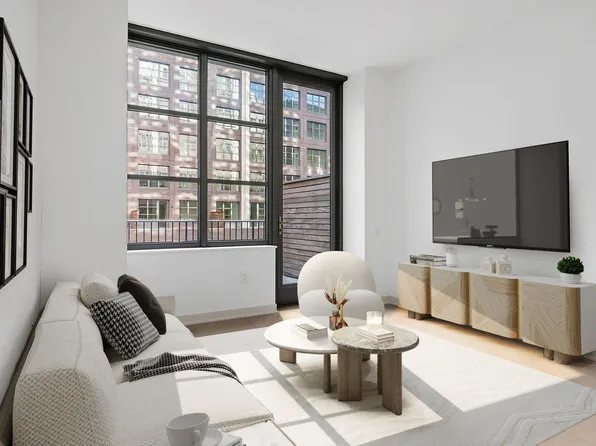
Condo in DUMBO
100 Jay Street #10E$996,000- 1 bed
- 1 bath
- 800 ft²
Listing by Century 21 New Golden Age Realty