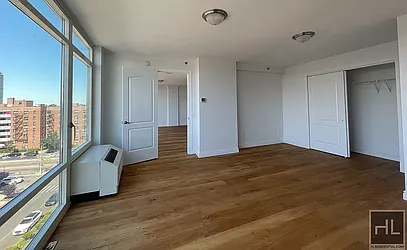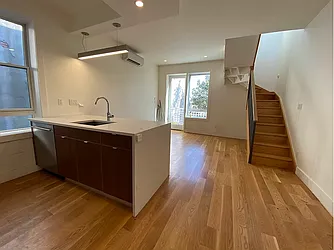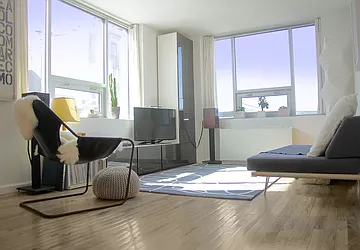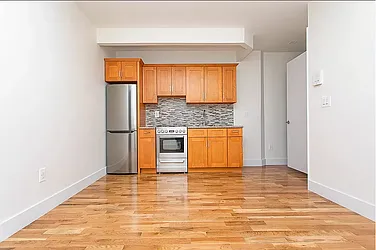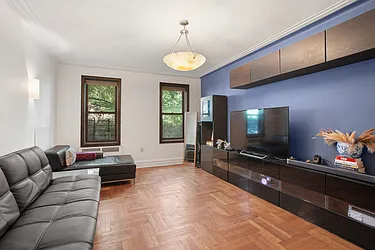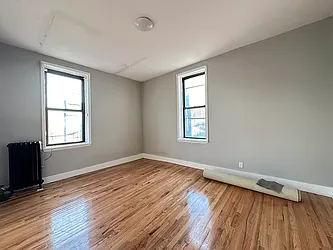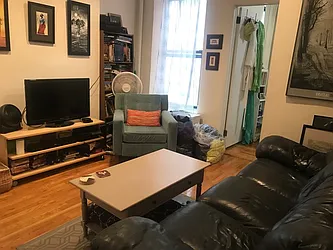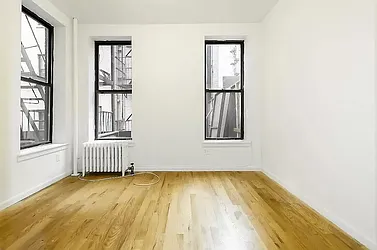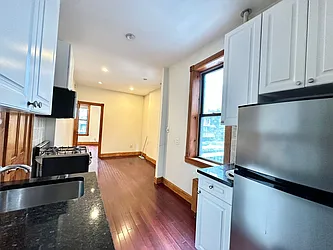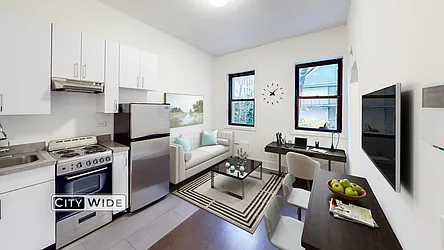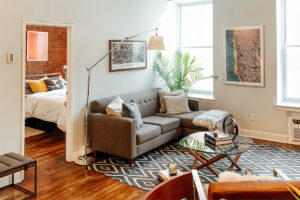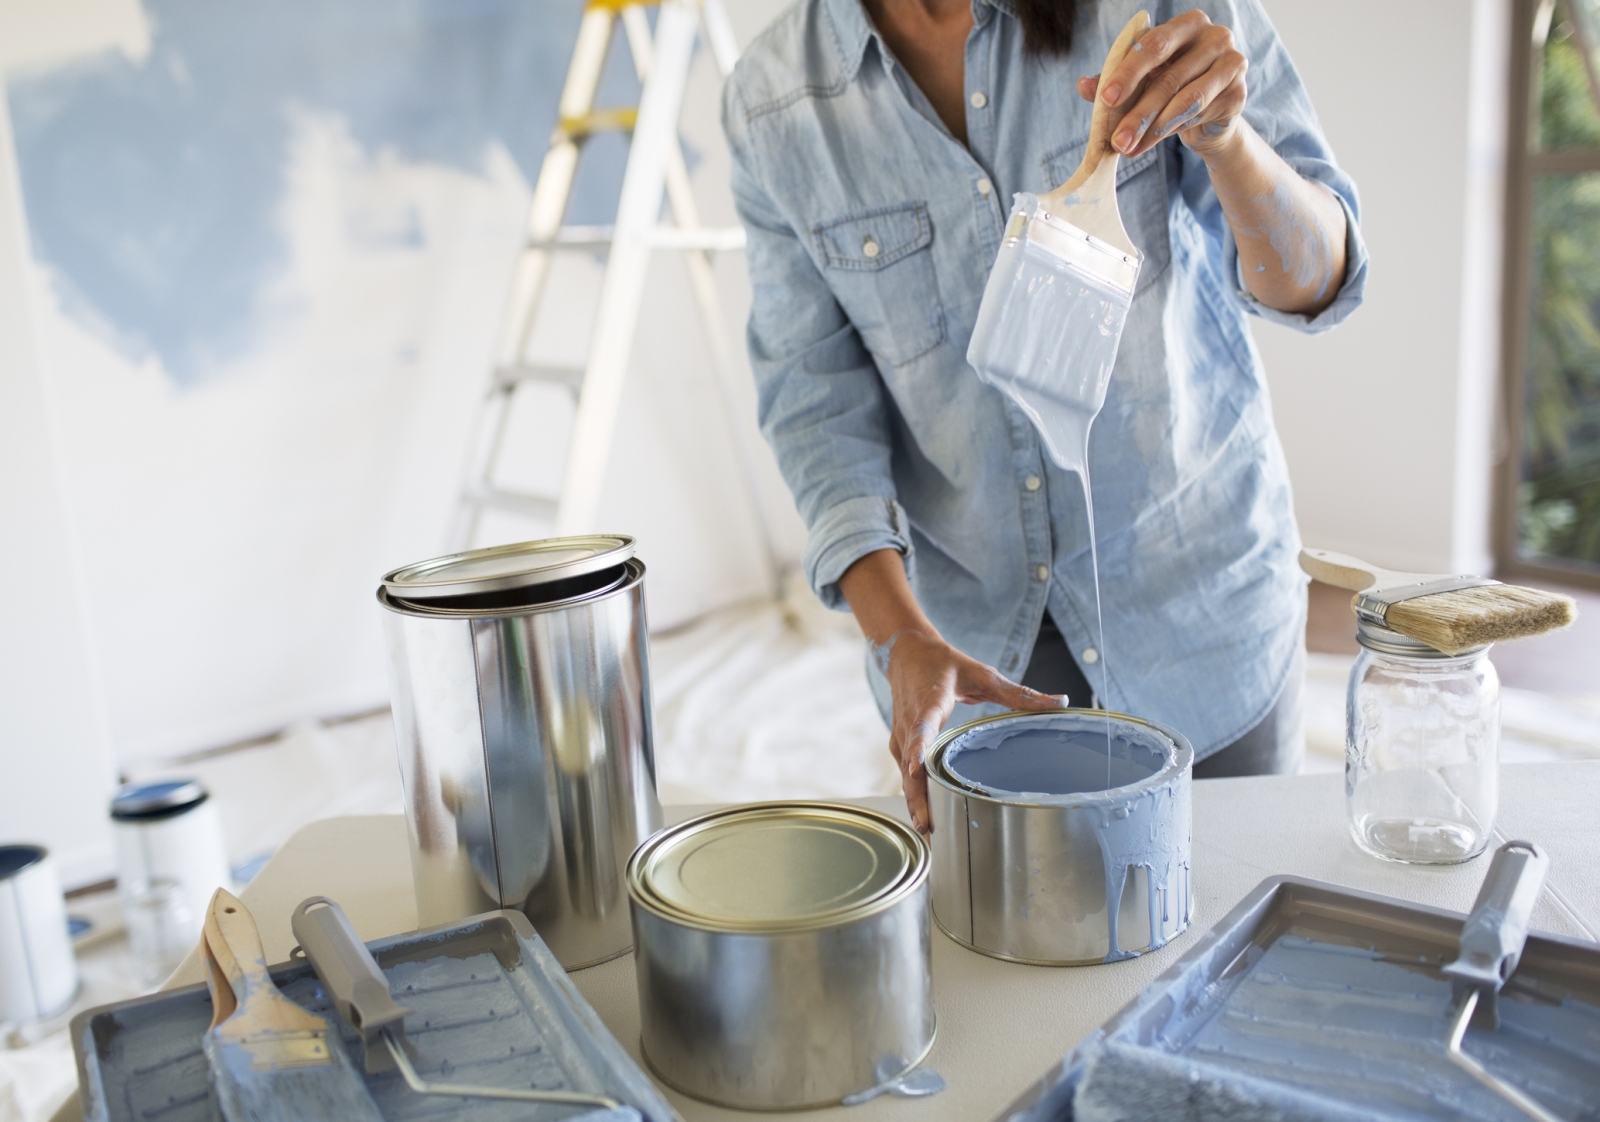
Follow the DIY-painting steps below to transform any room — or your entire apartment! (Getty Images)
A fresh coat of paint can do wonders to update a room. Painting is a great way to dip your toe in the waters of home improvement — and it’s the type of change your landlord is unlikely to have a problem with, since any mistakes are easy to fix. But as painless as it can be, DIY painting does require planning and preparation. Here’s a step-by-step guide covering all the essentials you’ll need to make sure your DIY painting project is a success.
DIY Painting Step 1: Choose Your Color
Choosing a color can be the most overwhelming part of the process. Start by considering the mood you’d like to create in the room, and go from there. For example, if you want the space to feel serene and calm, go for a cool neutral or a pastel; for a cozier vibe, pick a warmer shade; and if you’re feeling brave, go for something dark and dramatic, like a jewel tone, or even black.
Most paint companies offer online tools that let you upload a photo of your space and try out different colors. But remember that a hue’s appearance will vary based on lighting, so it’s a good idea to choose a few options and test them out on your wall. See how each color looks during different points of the day before making a final decision. And don’t stress: If you don’t love it, you can always go back and change it.
Brooklyn 1BRs Under $3,000 Article continues below
DIY Painting Step 2: Gather Your Tools
Here are all the tools you’ll need to get started:
- Sponge
- Dropcloth
- Painter’s tape
- Primer and paint (Use this paint calculator by Benjamin Moore, or a similar tool, to determine exactly how much you’ll need.)
- Trays
- Rollers and refills
- Roller extension pole
- Paint stirrers
- Brushes
- Rags
- Putty knife
DIY Painting Step 3: Clean the Wall Surface
Use a sponge, clean water and a mild soap to get rid of any dust, dirt or grease on the wall surface. Rinse with clean water to remove any soapy residue and let dry completely. The smoother and cleaner you can get your wall, the better the results will be.
DIY Painting Step 4: Prime the Walls
Remove whatever furniture you can from the room, or just push everything into the center of the room and cover with a dropcloth. Use painter’s tape to protect any areas you don’t want to paint, such as crown molding, outlets, switches, doorknobs and door and window frames. Pour your primer into a tray and use a roller to apply to the wall, running it up and down, section by section, until your wall is fully covered. Make sure it’s completely dry before moving onto the next step.
Manhattan 1BRs Under $3,000 Article continues below
DIY Painting Step 5: Get Painting!
First things first: Open the windows and make sure the room is as well ventilated as possible. Then, stir your paint well using a wooden paint stirrer. With a small angled paint brush, paint all the way along the outer edge (on the wall side) of the painter’s tape. Cover about a two-to-three-inch section, working away from the outer edge of the tape and down the wall, until you’ve painted the edges of all the taped areas.
Next, fill a tray with paint, dip your roller into it, and remove any excess. Using long strokes and without lifting the roller, roll the paint onto the wall in a W shape. Keep filling in empty spaces until the whole wall is painted. Wait until it has dried completely before applying a second coat and any subsequent coats. Use your rags and putty knife to wipe up or scrape up any stray drips.
When you’re done painting, carefully remove the painter’s tape while the paint is still wet. Then all you have to do is tidy up, crack open a beer and enjoy your transformed space!
—
Inspired to find your next place in New York? Whether you’re looking to rent or to buy, search NYC apartments on StreetEasy.

