Appealing photos can make or break a listing. No matter how great a deal your property is, shoppers won’t click if the images look dark, closed in, and unwelcoming. How can you take the most enticing photos possible, even if all you’ve got is a few minutes and a smartphone? We’re glad you asked. Check out our photo dos and don’ts below to take great interior shots that will help your listing put its best foot forward.
DO: Check your camera settings
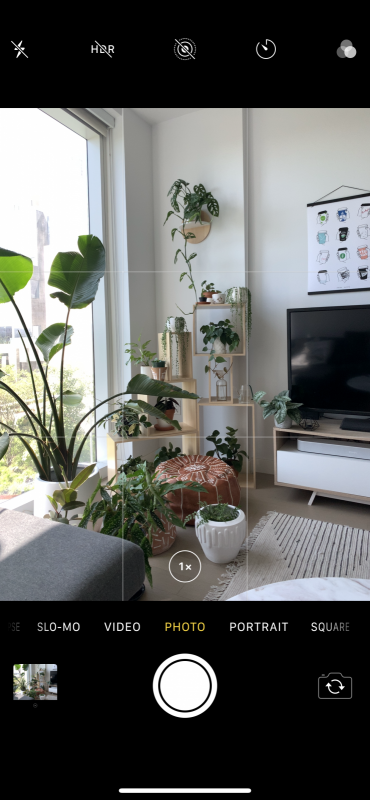
Photo dos and don’ts start with the camera itself. Adjust the camera mode on your phone to maximize the amount of space you can capture by making sure it’s set to full-size “photo” and not “square.” Shooting with a square crop doesn’t allow you to capture as much of the room. You can always edit an image later on if you need to crop it — for example, if the photos are being used for Instagram, they’ll need to be cropped to fit the proper dimensions. (For a static post, it’s 5:4, and for an Instagram story it’s 16:19.)
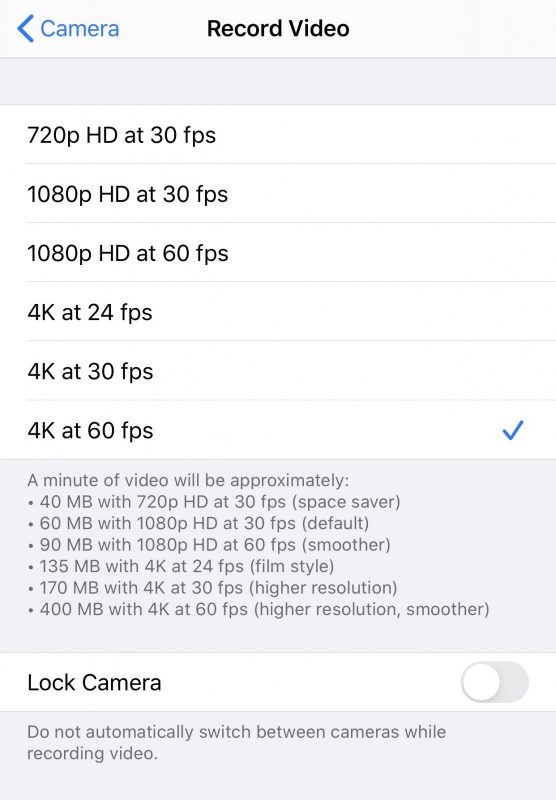
If you’re shooting video with an iPhone, go into “Settings” first and search for “Camera.” Under “Record Video,” make sure you choose “4K at 60 fps” for smoother, crisper, and clearer video footage. And don’t forget to check out our guide to creating a great walkthrough video for your listing!
DON’T: Take your pictures at night
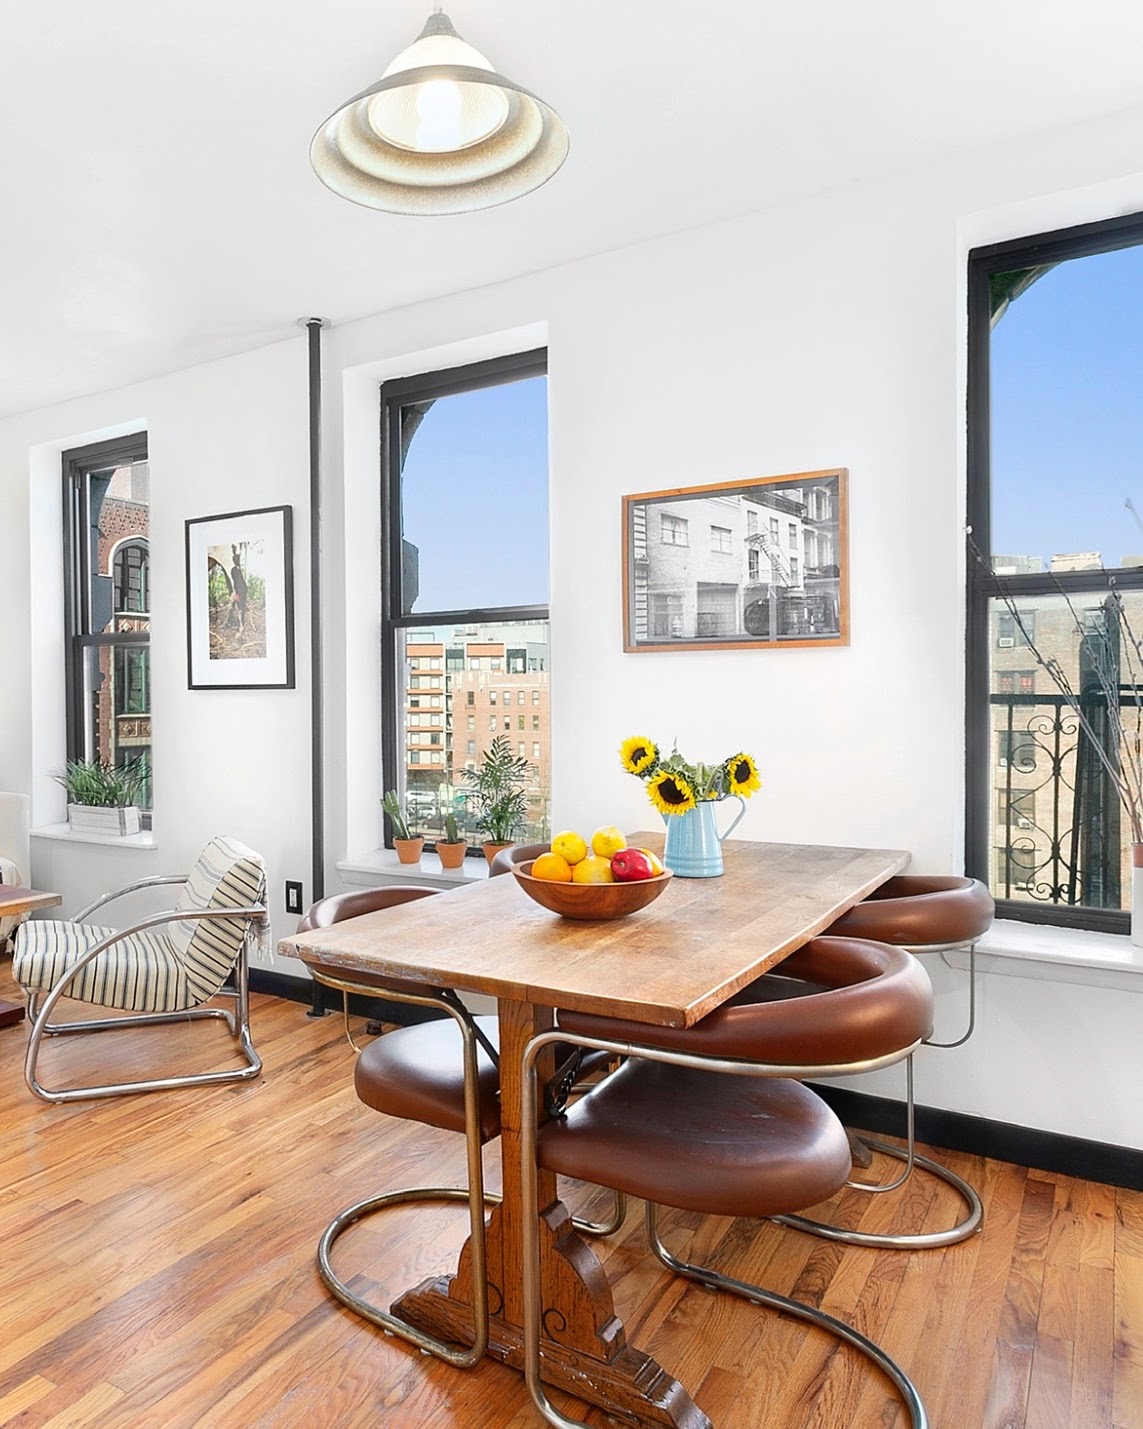
Natural light is your best friend for listing images! Always plan to shoot during daylight hours, and open any curtains or blinds to be sure to let in as much sunshine as possible. If it’s going to be a dark, stormy day, you might want to consider rescheduling — that’s how much of a difference blue skies and daylight make. If there’s so much light coming through a window that your photo looks blown out, try tapping on that window on your phone’s screen prior to taking the photo. That should take down the brightness.
DO: Clean and declutter
Before shooting, be sure to tidy up and clear away any clutter that might show up in photos. If the apartment is currently occupied, move any personal items out of frame. This helps keep the focus on the space itself, and not on the personal taste of the occupant.
DON’T: Be afraid to add a little style
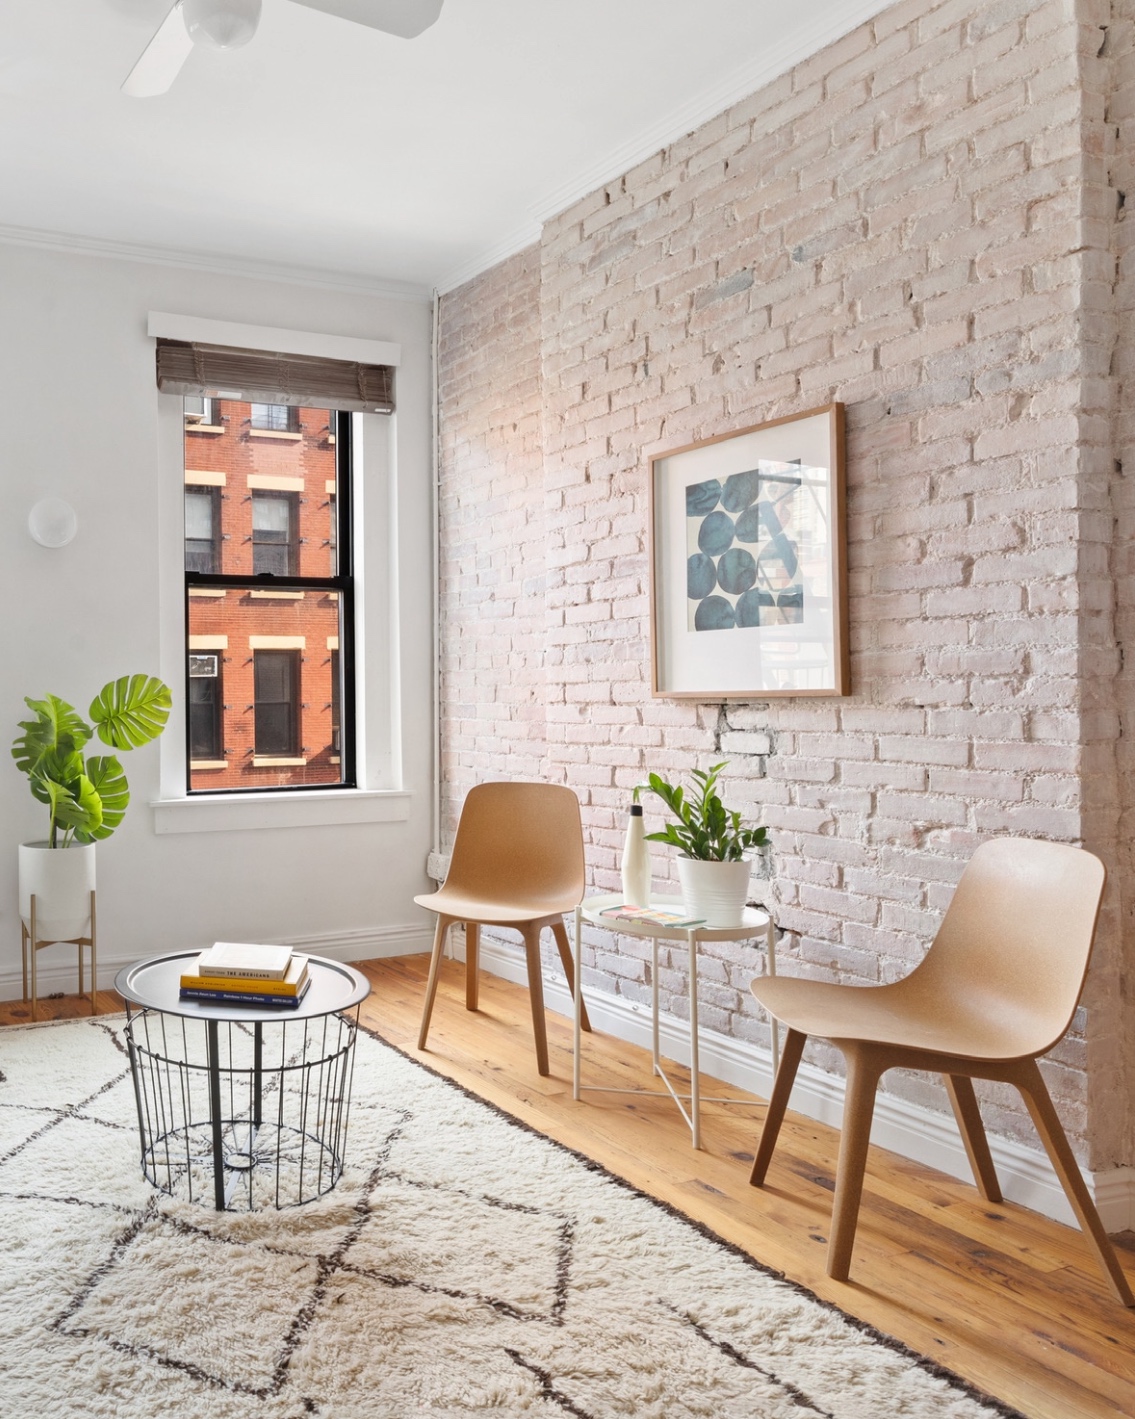
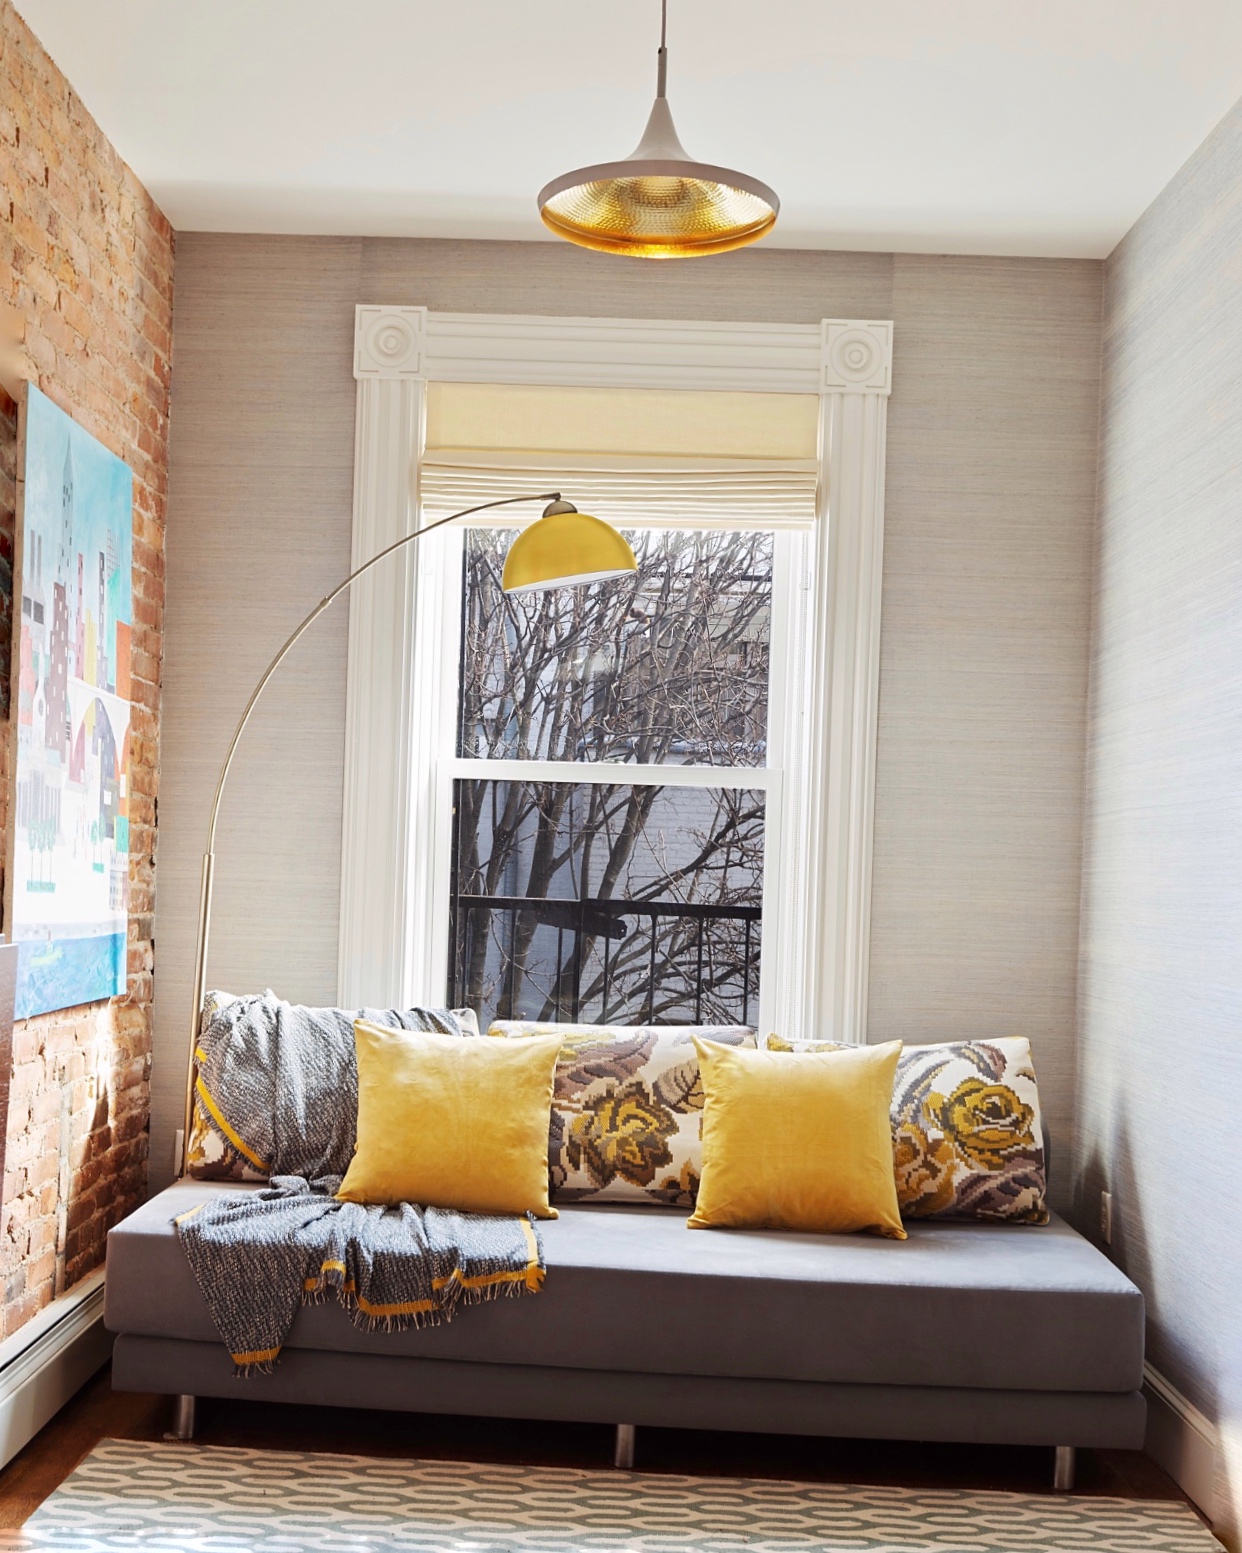
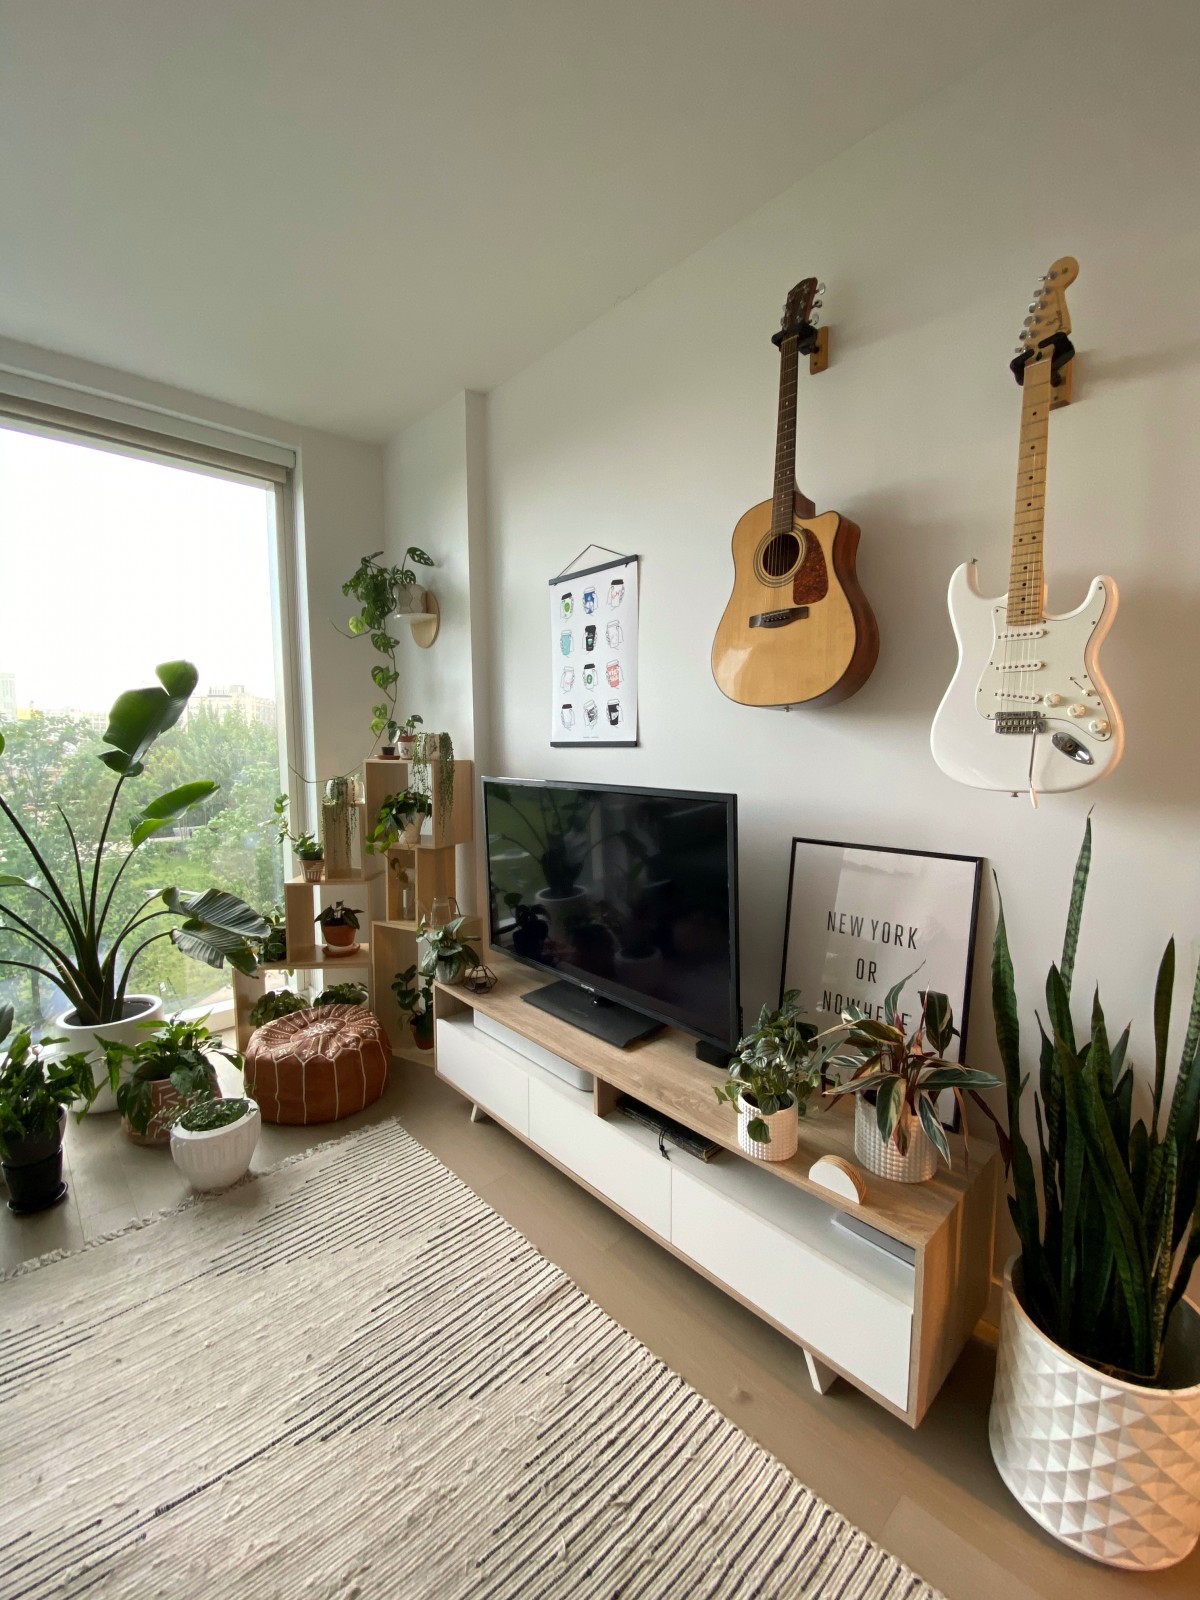
Tap into hygge by adding warmth and coziness to a space with lit lamps, sconces, and candles. Greenery is also a wonderful way to bring life to a space! You’ll be surprised how much plants can perk up a dull room. Try adding them on side tables, coffee tables, and any empty or underutilized corner.
DO: Get it straight
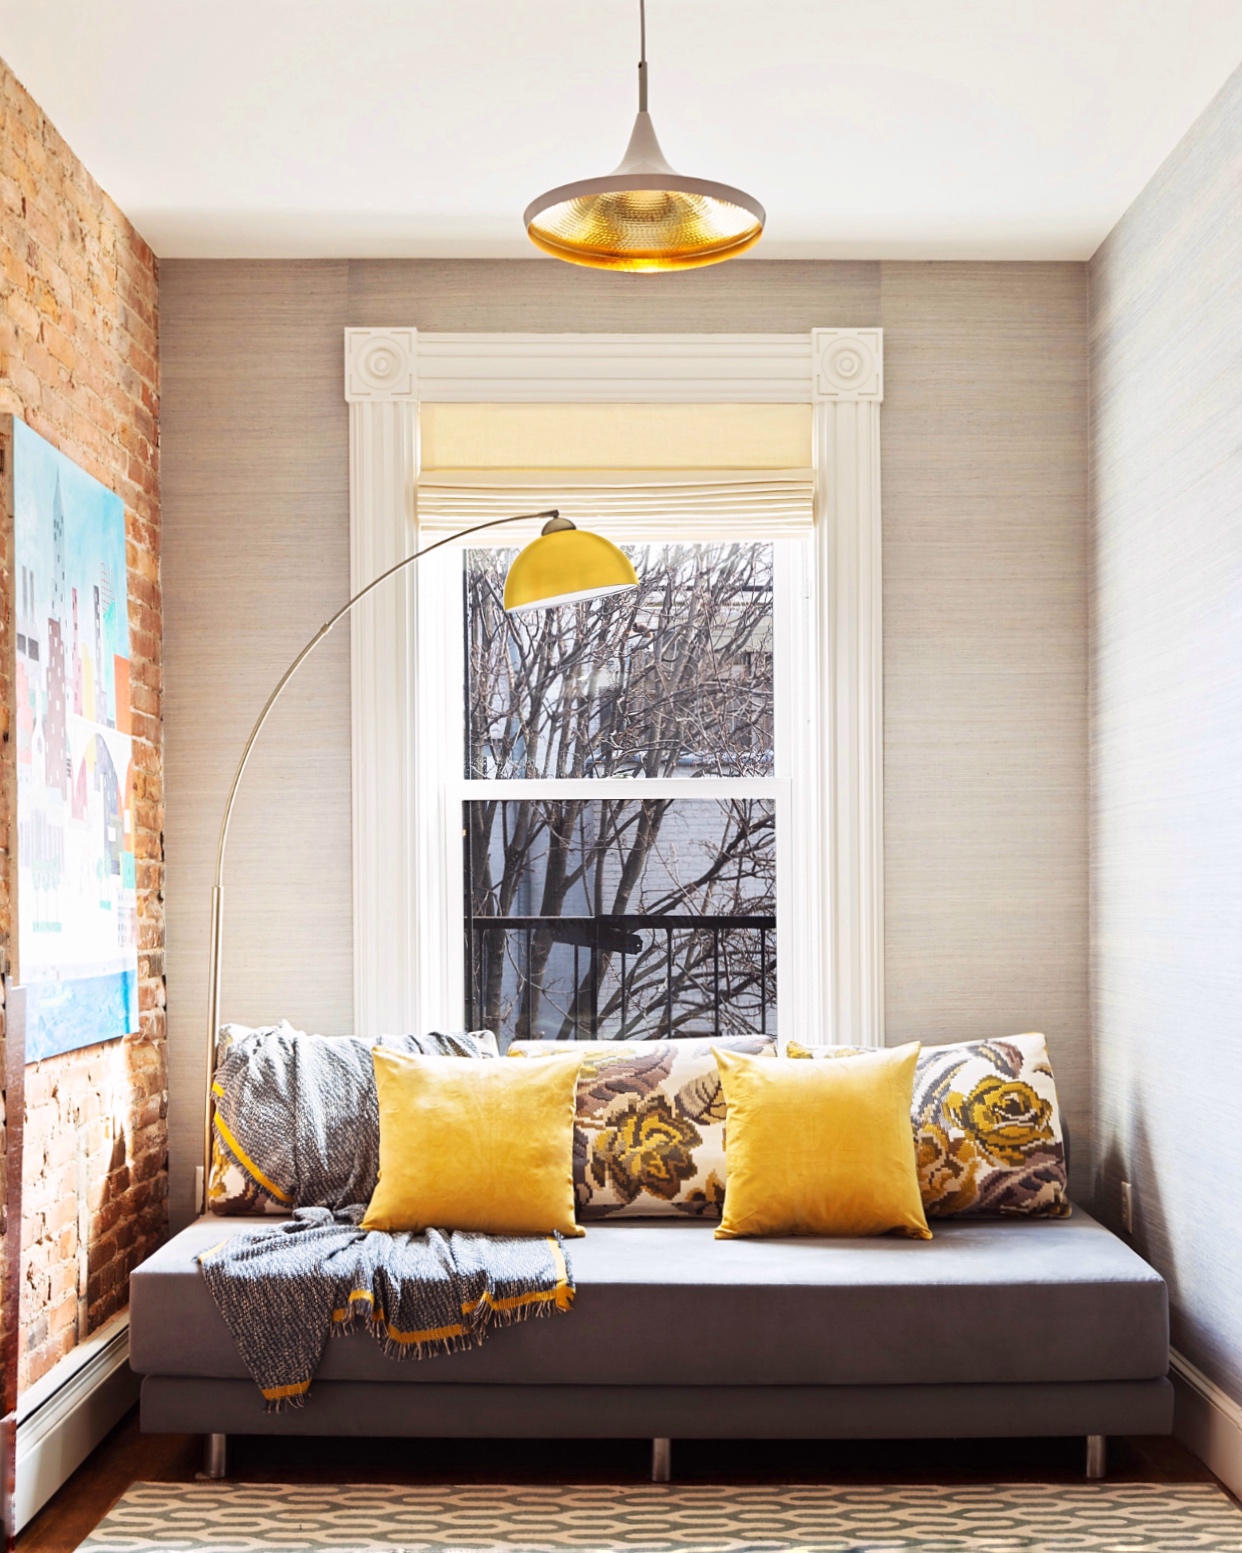
Here’s another classic tip for photo dos and don’ts: Straight lines are pleasing to the eye. It can be difficult to capture a space so that everything lines up perfectly, but do your best to line up your shot with the grid lines on your phone’s camera. If it doesn’t come out perfect, don’t worry, there are apps (like Snapseed, see below) that allow you to tilt and rotate photos so that everything lines up better.
DON’T: Stand in the same place for each shot
Find the best vantage points for the room: Sometimes you have to put yourself in different positions to get the best shot. Don’t be afraid to kneel on the floor, stand on a stool, etc., for a better angle! Standing in doorways or right up against walls can help you capture a unique perspective of the space and also allows you to get more of the space within frame.
DO: Find ways to show more in each shot
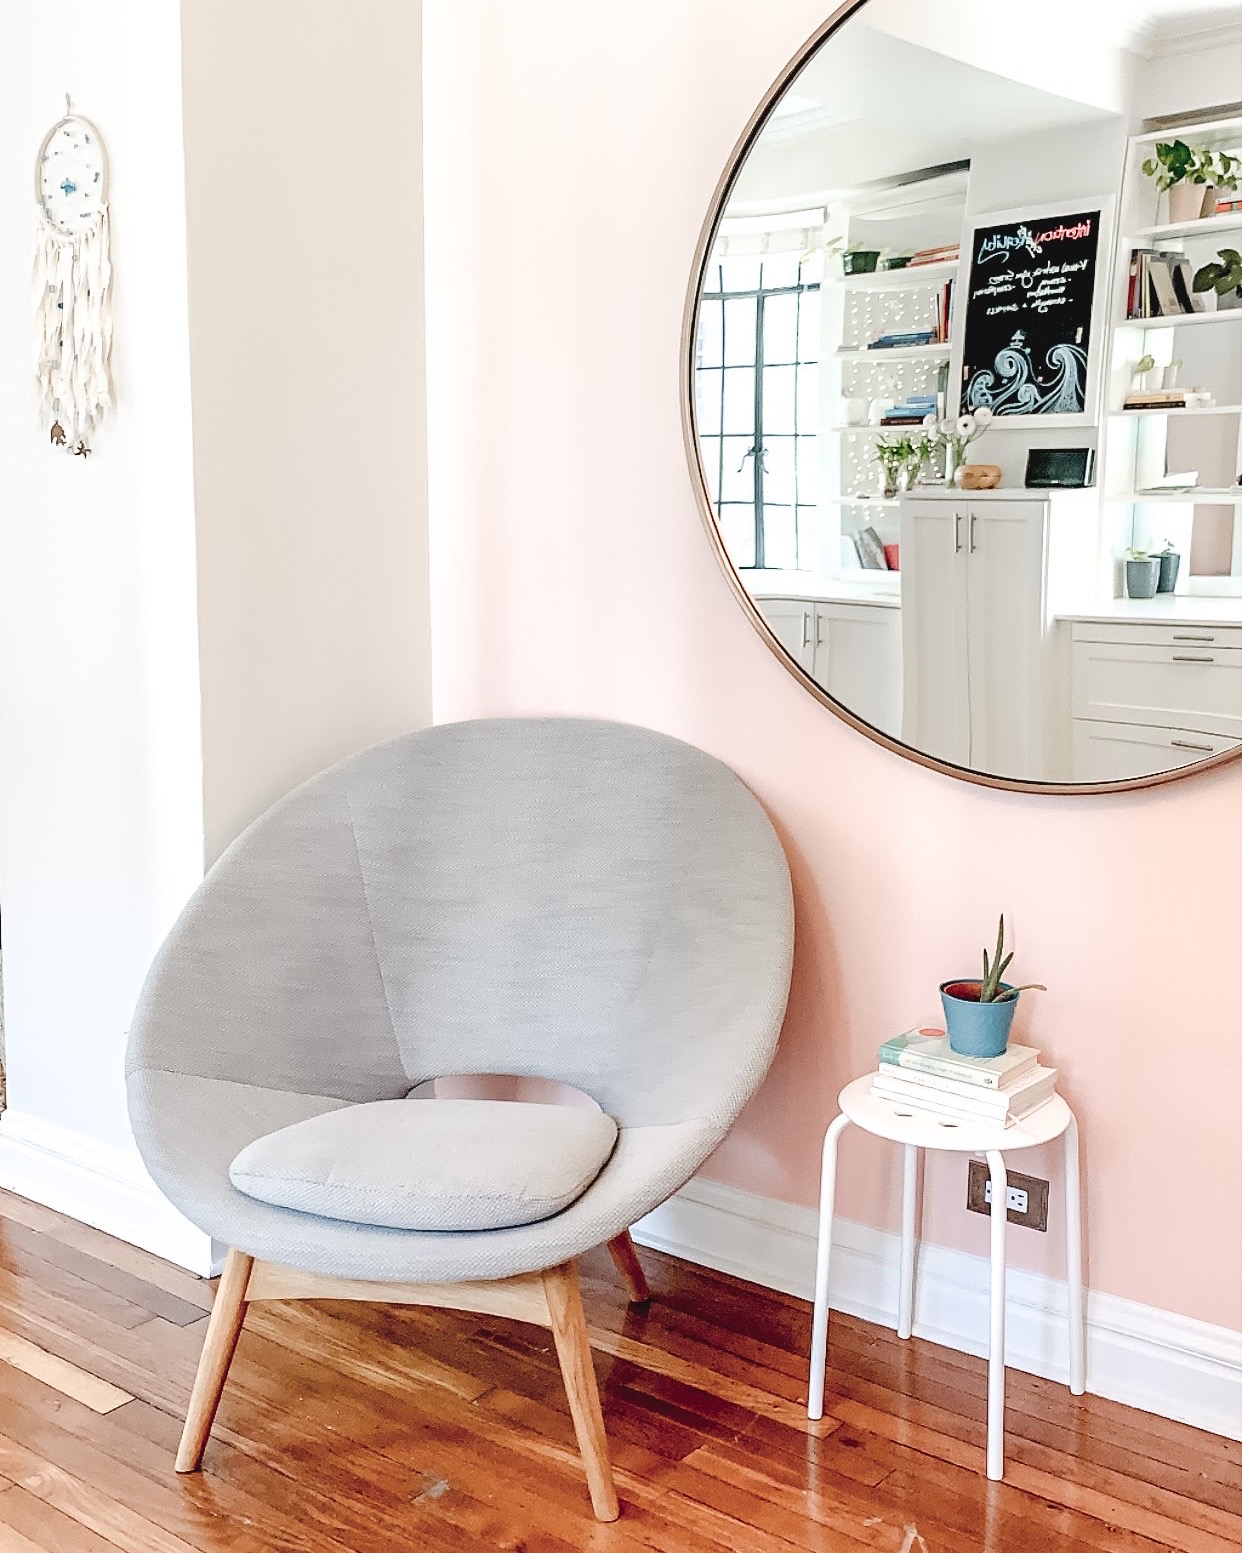
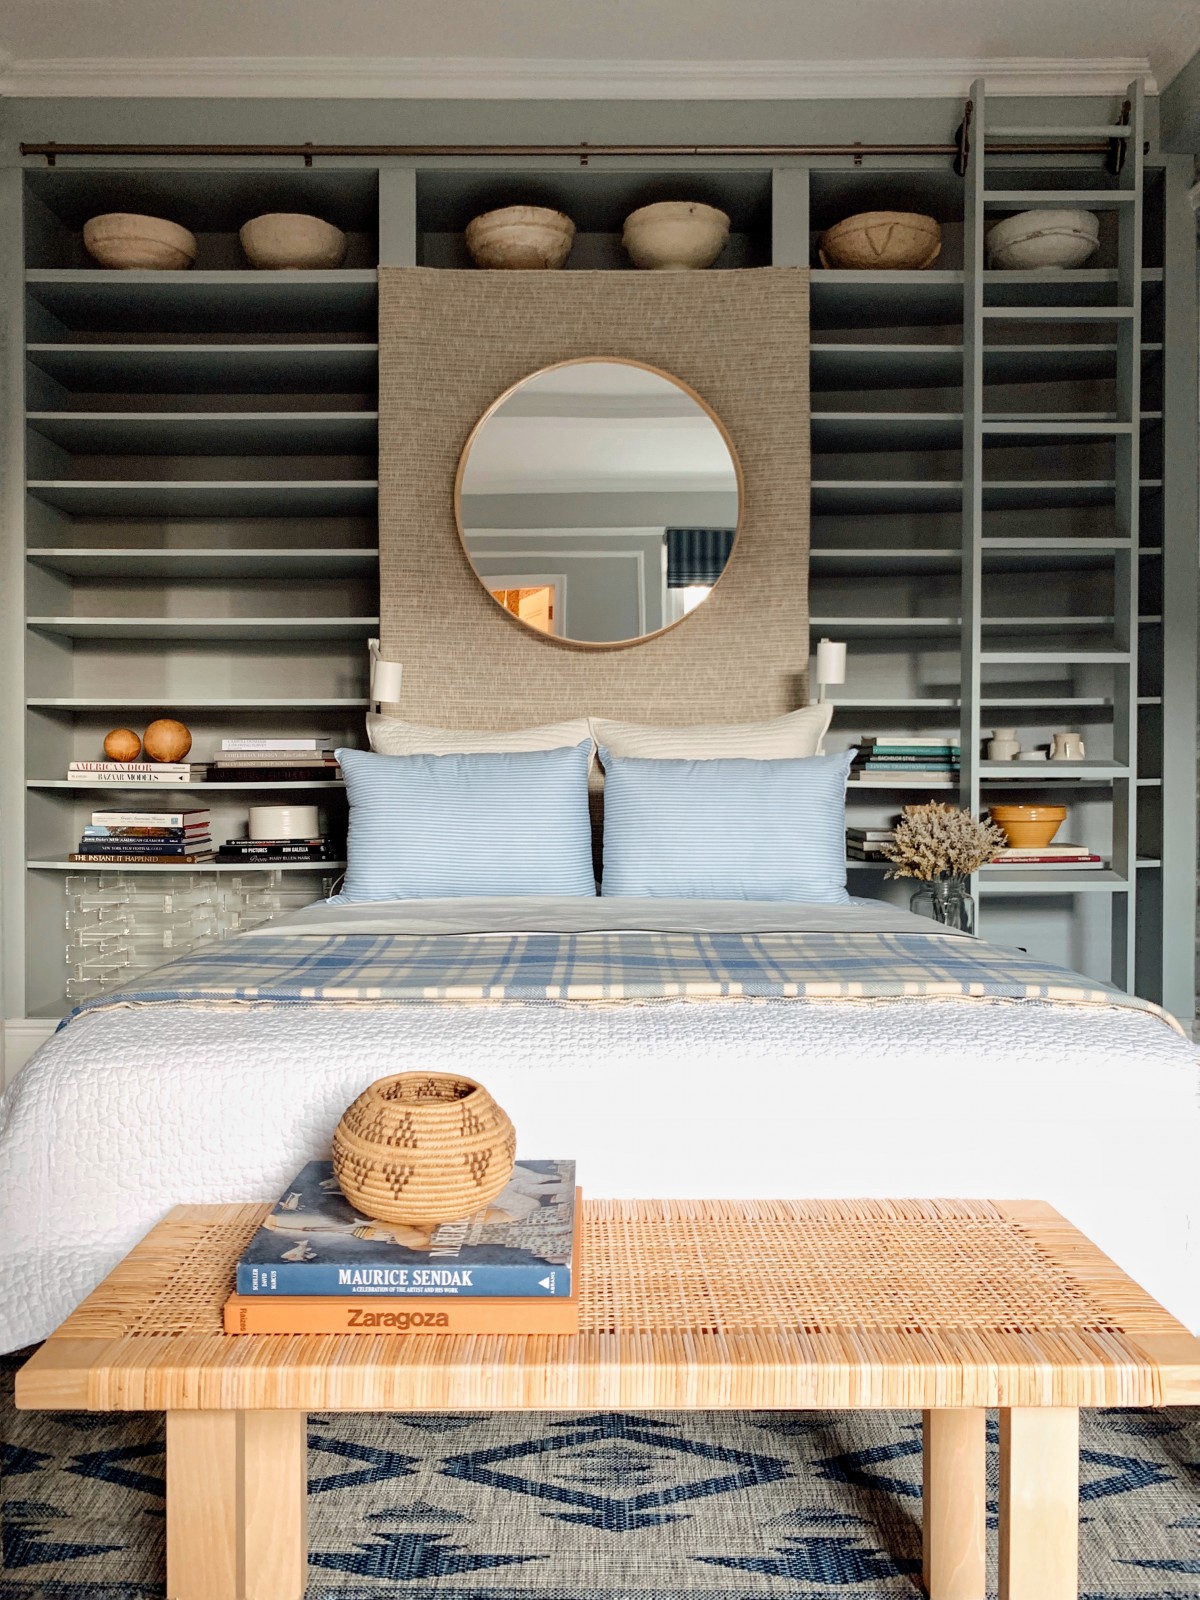
Utilize mirrors: They look great in photos and also provide an opportunity to show two different areas of a space at once. (Just be cognizant of where you’re standing, so that your reflection doesn’t accidentally end up in the photo!)
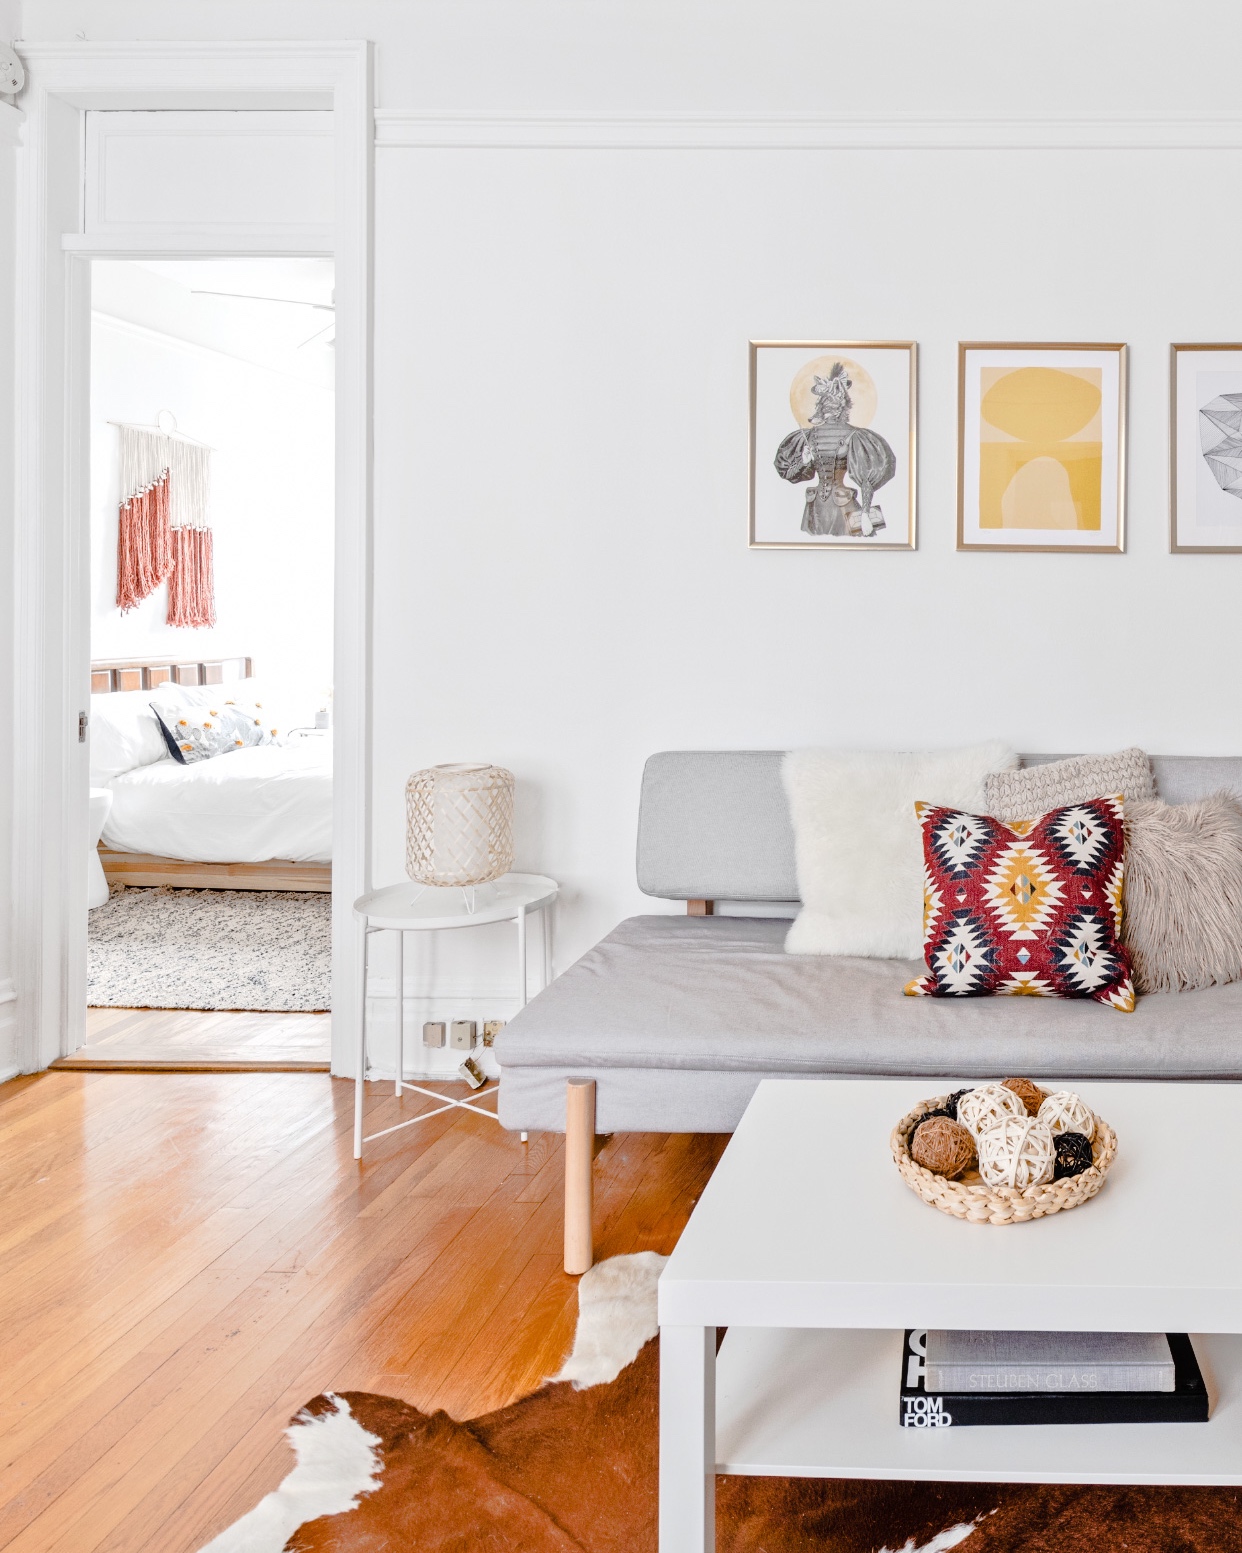
Open doors can create a little “sneak peek” glimpse into the next room. This type of framing helps people to get a better idea of the layout and flow of a space. And if possible, let the windows in your photos provide a sense of scenery and location. It’s always nice to see what’s outside: trees, buildings, and the general vibe of the neighborhood.
DON’T: Make the space feel small or closed-in

The goal is to make the listing look as spacious as possible, right? The wide angle feature on the brand new iPhone (if you have it) is a great way to accomplish that. You can also purchase a wide angle lens for other phones from companies like Olloclip or Moment. Without a wide-angle lens, it helps to stand at the very edge of a space to make the room look larger. And don’t zoom in at all on your phone’s camera.
DO: Make use of photo-editing apps
The last of our photo dos and don’ts is a big one: Let technology work for you! There are lots of photo apps out there, and Snapseed is one of the must haves. This all-purpose editing app is free and user friendly, with a ton of helpful features to help photos look more polished. “Perspective” lets you straighten out photos by tilting, rotating, and scaling them to better fit the frame. “Selective Adjust” allows you to play with the brightness, contrast, and saturation in a controlled area of your choosing, useful when you only want to edit one part of a photo. There’s even a “Healing” feature that lets you remove scuffs and spots from walls, crumbs from tables, and stray wires. Lightroom Mobile is another good photo-editing app, especially useful for brightening up images and adjusting colors. And VSCO offers a great variety of filters for photos and videos that can be applied with one click.