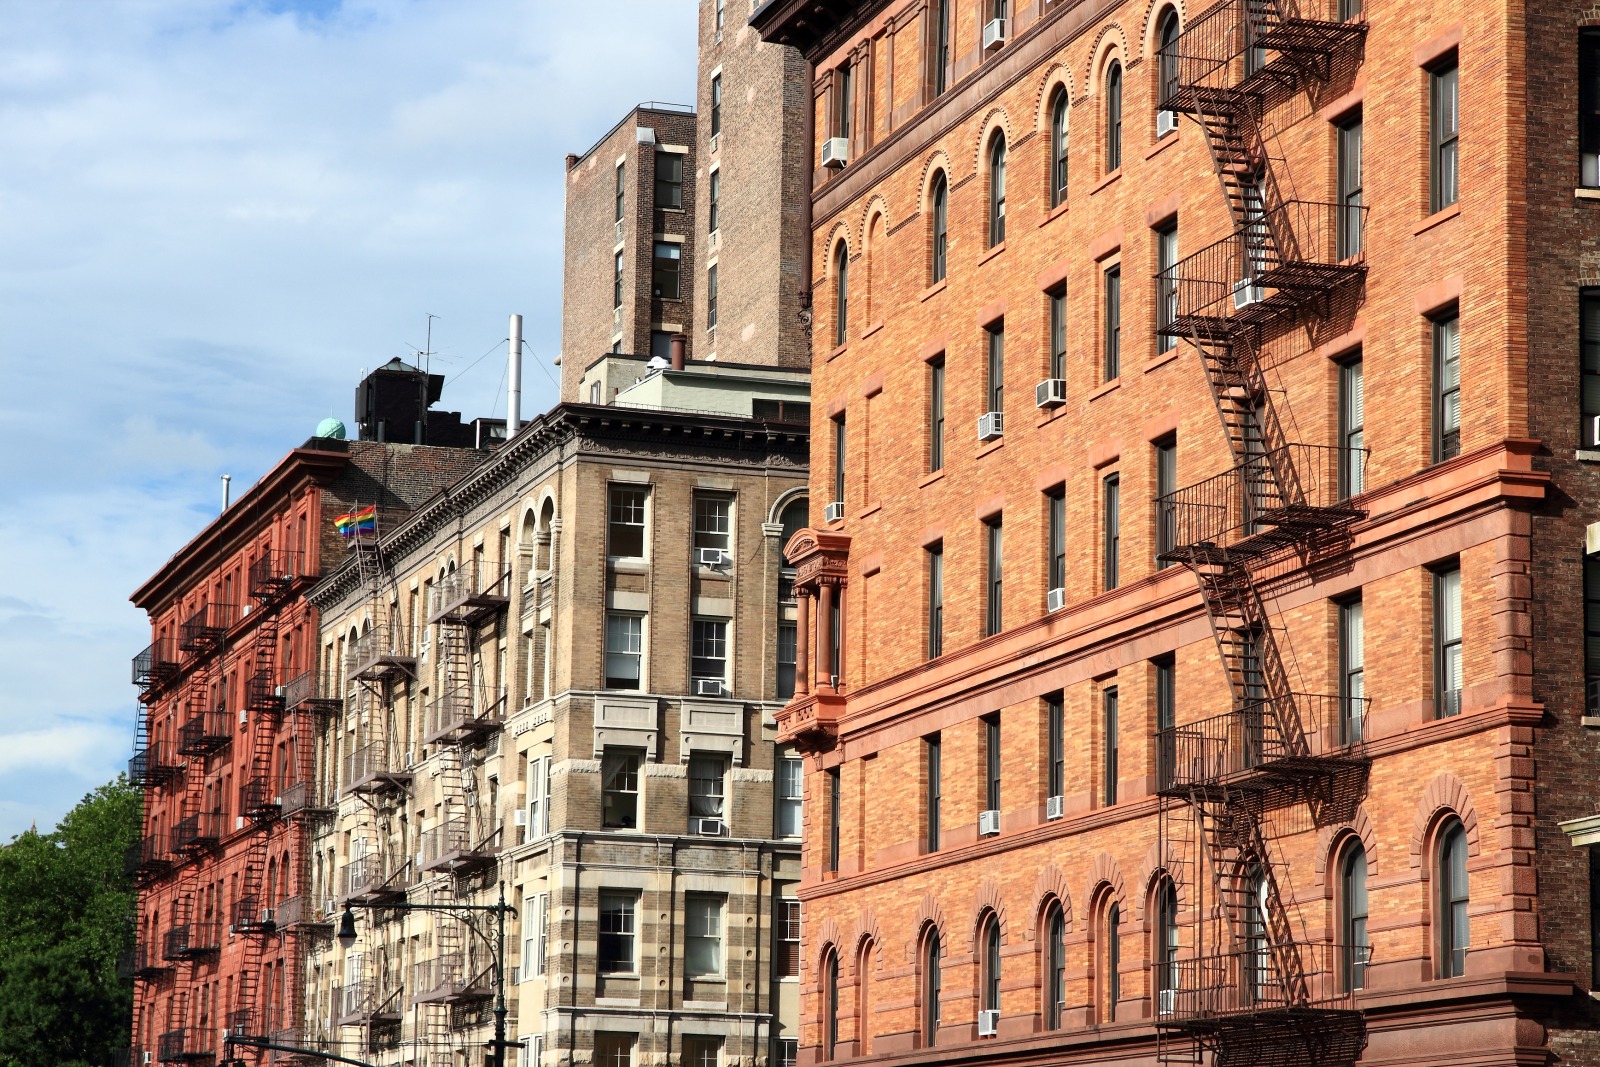

How many listings have you posted this month? A lot, right? Now consider how many photos are featured on those listings. Even more. Clearly photos are important, and they’re key to driving interest in a listing (check out more on what makes listings great). In an ideal world, you should be reserving budget to hire a professional photographer for your listings. But whether you can manage that currently or not, we’ve put together a few tips on how to stage, light and capture your apartments — all according to two veteran NYC real estate photographers. We spoke with Heidi Solander, a photographer with five years of experience, and Travis Mark, a photographer who’s been shooting NYC real estate for more than a decade. Here’s are their tips on getting the best images of your listings.
Lighting Is Key
Many photographers of any medium will tell you: lighting is basically everything. That holds true for listing photography. Mark echoes this by underscoring just how important consistent, natural light is. “Try shooting on a cloudy day, as the difference in brightness between inside and outside is less dramatic,” he says.
Solander recommends using the photo’s lighting to highlight the actual lighting in the apartment. Think: if the kitchen gets beautiful sunlight in the morning, don’t wash it out with supplemental lighting, and definitely don’t photograph it at night. Let the apartment shine on its own.
Capture the View
One benefit of proper lighting is that you’ll be able to capture the inside of an apartment as well as any standout view out the window. “Capturing the brightness of the inside of the home while also showing the view is what separates the amateur from the professional,” Mark says. Again, shooting on a cloudy day will help here, but consider picking up a professional light to illuminate some of the darker interior features that can result from bright lighting outside.
Get a Tripod
If you have to shoot at night or in subpar lighting, you’ll want to set the shutter speed much slower, allowing for longer-exposure pictures. Mark’s advice here is to use a tripod so you can make the exposure as long as possible while avoiding the blur created by shaky hands.
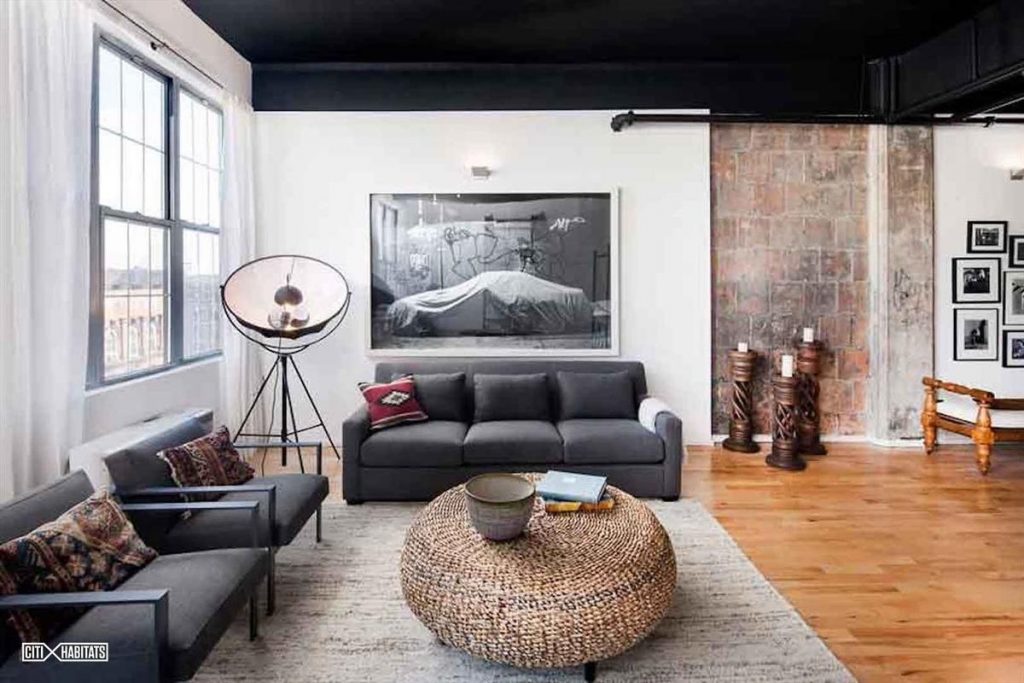
Photo of 100 S. 4th St., taken by Travis Mark.
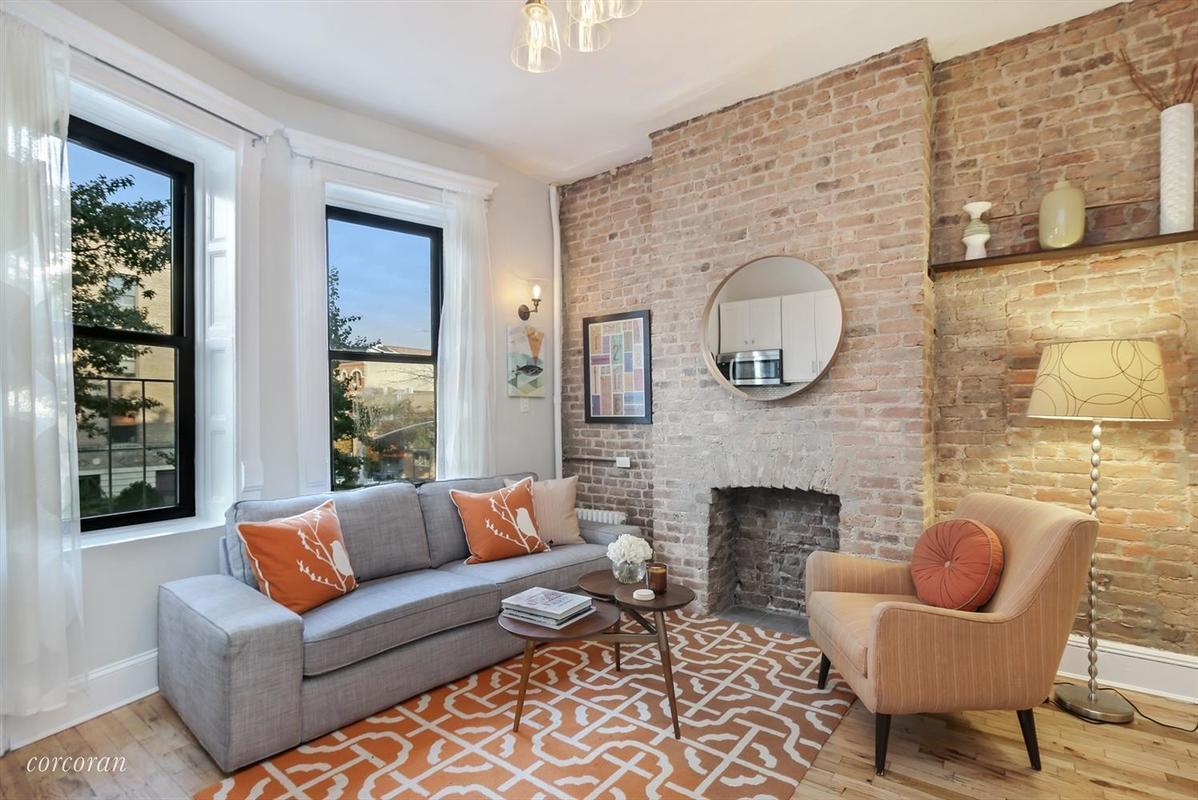
Set the Stage
When asked what makes him cringe, Mark says “A messy space! Take five minutes to move the dirty clothes and piles of junk.” On top of that, adding some accents and staging elements (we’ll get to some specific tips next), will go a long way creating a beautiful apartment.
Buy Some Throw Pillows
An inexpensive way to add character to a room, according to Mark, is to pick up a few stylish throw pillows. They’ll add a pop of color to the bedroom or the couch in the living room, and are easy to take with you to new listings.
Go Simple With the Decor
Another tip from Mark is to keep your flower bouquets or fruit bowls simple and high quality. “Don’t buy a cheap mixed bouquet from the bodega. Instead, try a single type of flower,” says Mark. “A big bowl of one type of fruit for the kitchen looks better than a mixed group of fruit.”
[advertise_driver type="agents_building_brand"]Try Shooting Low
If you can’t get the perfect lighting but you need those shots in a hurry, Mark recommends taking the picture from a lower perspective, even if you’re just using a point-and-shoot or a smartphone. “Most interior photos shot on a smartphone look best when shot 3–4 feet from the ground,” says Mark. “Try to keep vertical lines in the room straight and avoid shooting towards bright window light.”
Consider the Story
Solander plans many of her apartment shoots based on the actual route people will take when walking through the apartment. “Create a flow that people will follow when looking at the listing,” she says. It’s a simple technique that’s smart both for telling the apartment’s story on the listing page and also helping to clue in the apartment hunter on what they can expect at the showing.
Don’t Be Afraid to Edit
A couple closing points Solander underscored were that you shouldn’t be afraid to experiment with post-processing and editing in your photography. “Use the editing software on your phone,” says Solander, “so photos don’t look too bright, dark, off-color. They will look slightly more polished.”