Skip main navigation
Search NYC Apartments
Reads
Open menu
Close menu
Search NYC Apartments
Good Deals
Deal of the Week
Most Popular
Open Houses
Sales Deals
Rental Deals
Renting
NYC Renters' Rights: Resource Hub for Renters
NYC Renters' Guide
Housing Lotteries
Tips and Advice for Renters
Buying & Selling
Working With a Buyer's Agent: Resource Hub for Buyers
First-Time Buyer Guide
Buyer Tips and Advice
Selling Your Home
NYC Life
Neighborhood Guides
NYC Moving Guide
Celebrity Homes
Market Data
Data Dashboard
Market Reports
Neighborhood Data
Affordability
Industry Hub
Latest Industry Standards: Resource Hub for Agents
magnifying_glass
Created with Avocode.
Design
Great design can instantly make any New York City apartment feel like home. These ideas will help you organize, customize, and personalize your living space based on your taste, lifestyle, and square footage.
Seller Tips and Advice
How to Stage Your Home to Sell: 7 Pro Tips
Design
Get Your Green On: Shelter in Place With Houseplants
Design
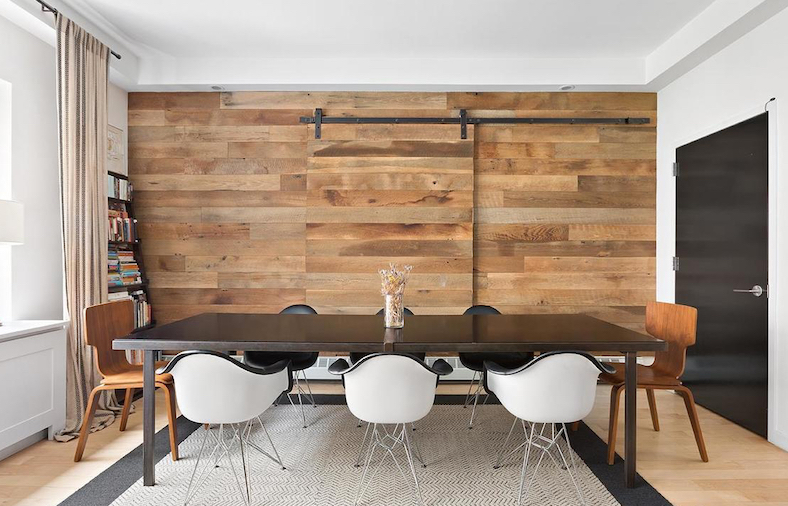
Perk Up Boring Decor With These Accent Wall Ideas
Design
Studio Apartment Survival Guide: Tips & Tricks
By
Jordi Lippe-McGraw
·
Nov. 24, 2025
Design
How to Decorate Your NYC Apartment for the Holidays
By
Isabel Galupo
·
Dec. 4, 2024
Design
The Best Christmas Trees for Small Spaces
By
Michele Petry
·
Dec. 4, 2023
Renovating
Preparing your home for sale: The ROI on renovations
By
StreetEasy Team
·
Sep. 21, 2023
Design
How to Dispose of Furniture in NYC – & Buy Furniture on a Budget
By
Isabel Galupo
·
Feb. 16, 2023
Design
New Apartment Essentials: What to Put on Your Shopping List
By
Jordi Lippe-McGraw
·
Jan. 10, 2023
Celebrity Homes
Inside a Design Legend's Fifth Avenue Maisonette
By
Michele Petry
·
April 28, 2020
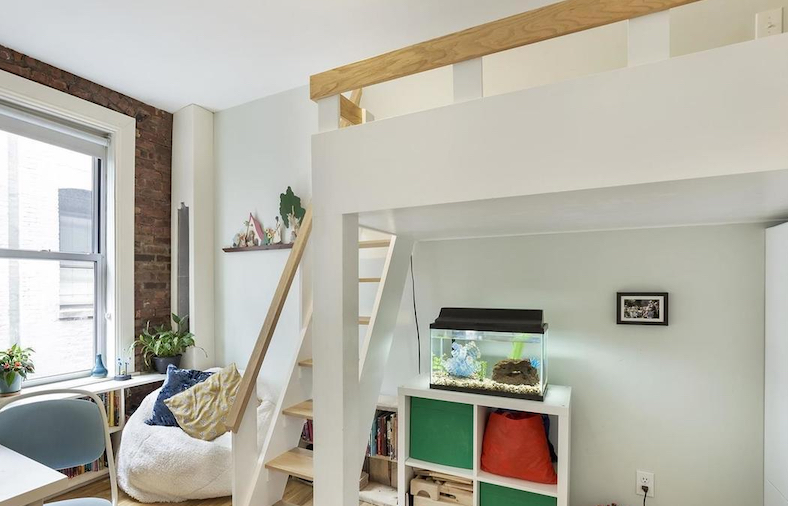
Design
Dreamy Loft Bed Ideas for Grown-Ups
By
Jordi Lippe-McGraw
·
April 21, 2020
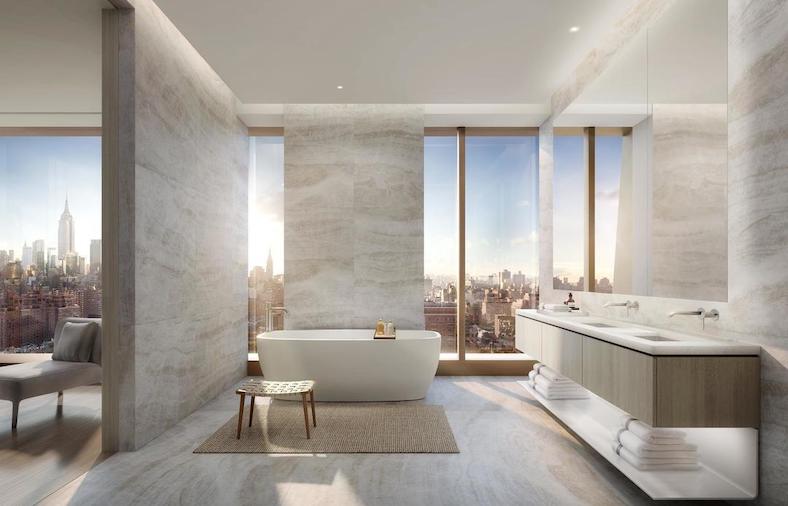
Sales Listings
Spa Bathrooms: Manhattan's 10 Most Luxe
By
Michele Petry
·
April 21, 2020
Design
Pro Tips for Creating a Home Office
By
Jordi Lippe-McGraw
·
March 27, 2020
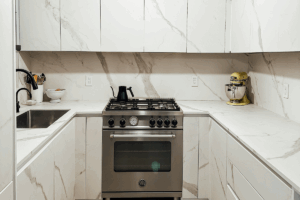
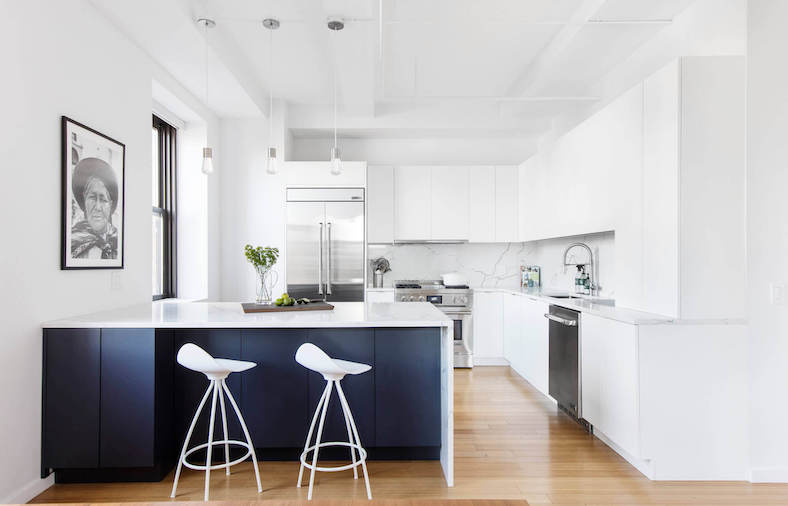
Renovating
The Ultimate Guide to Renovating Your Kitchen & Bath in NYC
By
StreetEasy Team
·
Jan. 29, 2020
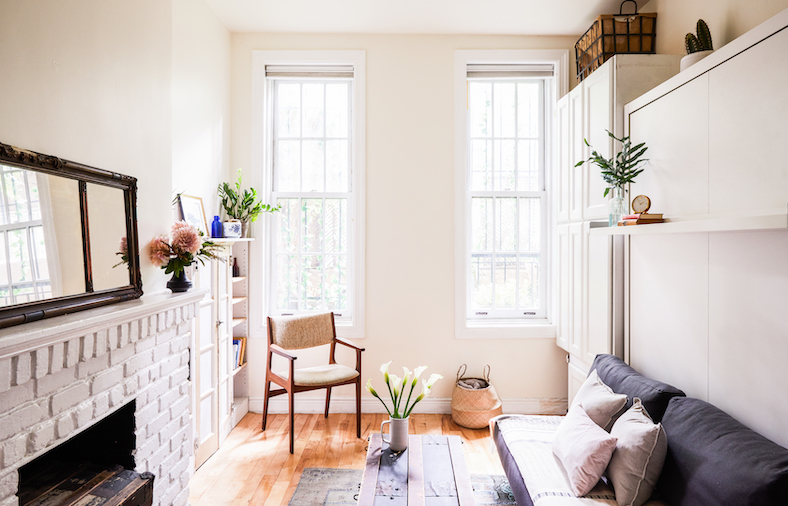
Design
Space-Creating Design Tips for Narrow Railroad Apartments
By
StreetEasy Team
·
Jan. 13, 2020
Load More Stories